NYC

NYC

Wednesday, September 7, 2016

Lentil Walnut Tacos

These are not intended to replicate meat, BUT they are “meaty” in their own way. They’re full of flavor, have a great texture and are really satisfying!  If you cook the lentils ahead of time, this should only take you about 15 minutes to make!


Lentil Walnut Tacos
  • 1 small onion, sliced
  • 2 cups cooked lentils ( I cooked mine with some cumin, salt and a bay leaf)
  • 2 cups walnuts, toasted
  • 1 teaspoon soy sauce
  • 1 teaspoon smoked paprika
  • 1 teaspoon oregano
  • 1 teaspoon chili powder
  • 1 teaspoon cumin
  • 1 1/2 teaspoons sea salt
  • 1 pepper (any color), slice into strips
  • Tortillas
  • Toppings of your choice (sautéed onions and peppers, slaw, greens, chipotle mayo, barbecue sauce, fresh tomato salsa etc.)

  1. Preheat oven to 350 degrees.
  2. Sauté the onions in a little bit of olive oil until slightly golden. 

  3. Spread the walnuts on a baking sheet and toast for 6-8 minutes until fragrant. 

  4. In a food processor, pulse the cooked lentils, sautéed onions and toasted walnuts a few times until the mixture is coarsely chopped (you don't want it to turn into a paste.  Texture is good!)  

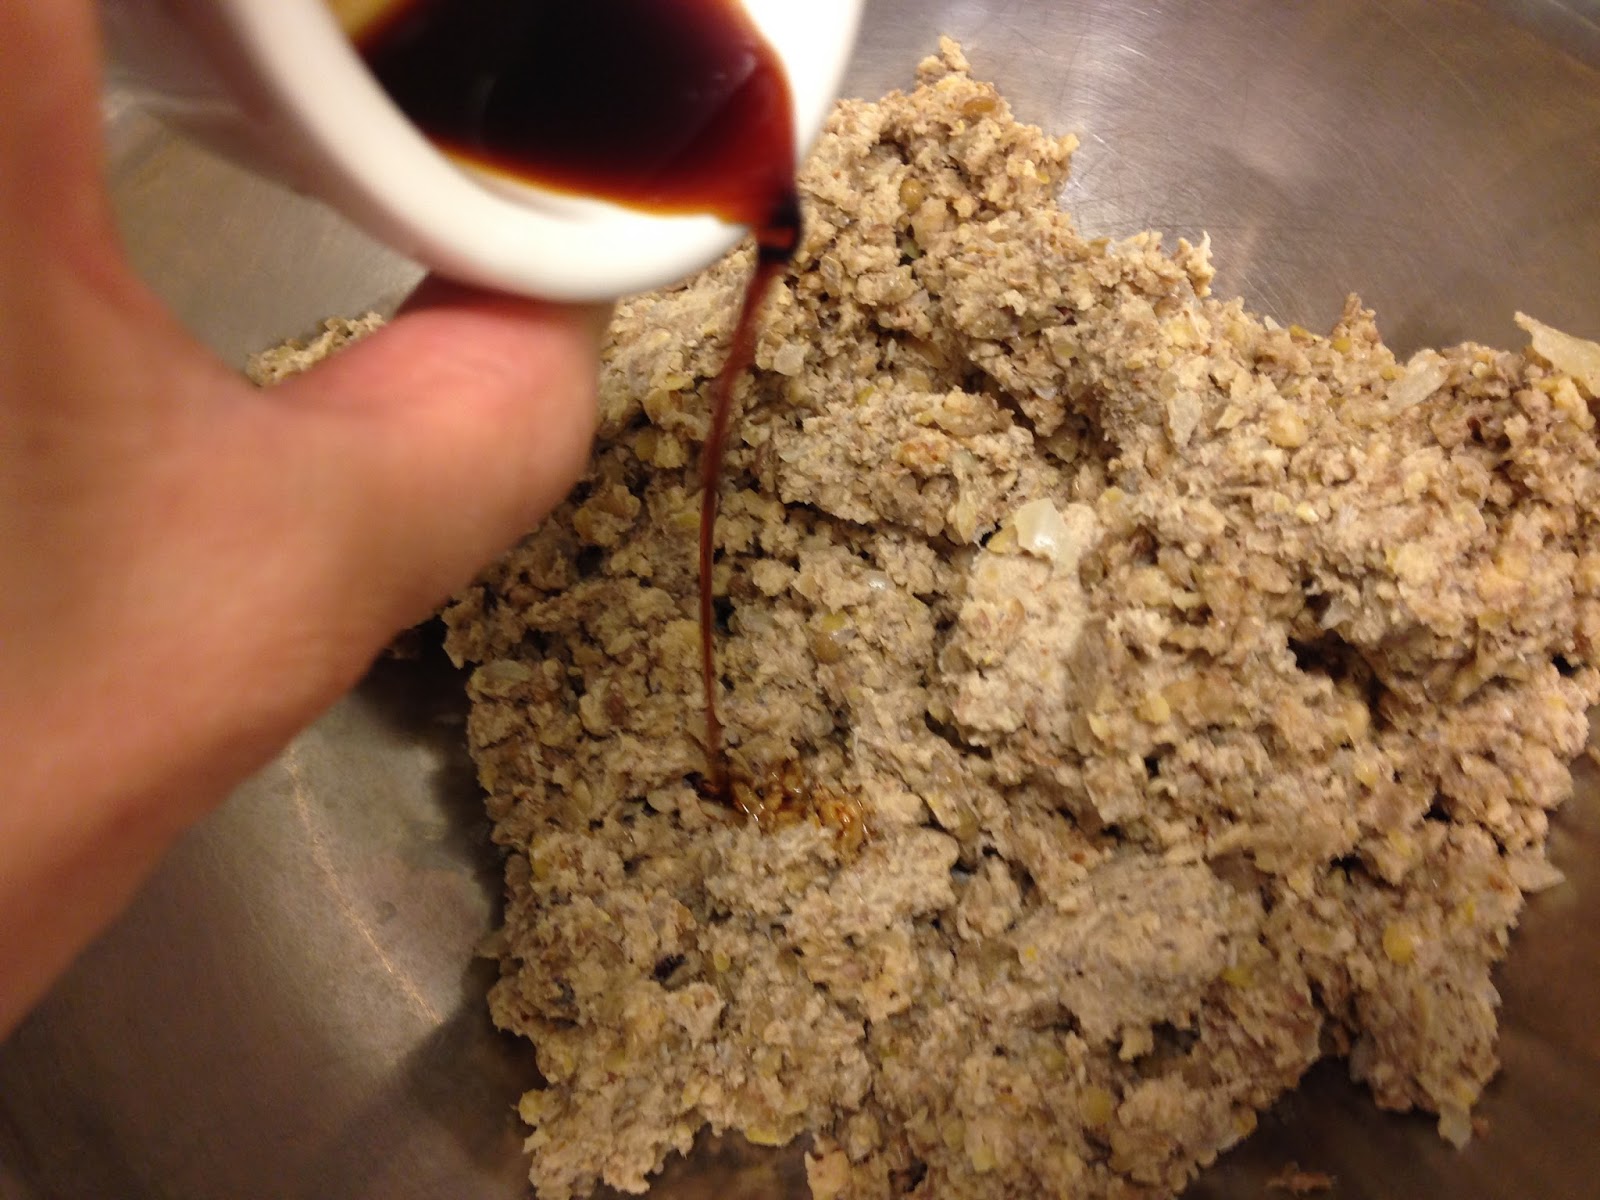
  5. Put mixture into a mixing bowl. Add the soy sauce and spices.  Stir to combine. 

  6. Use this filling for your tacos along with your favorite accompaniments.  I made my tacos with sautéed onions and peppers, chipotle cream, homemade BBQ sauce and freshly squeezed lime juice. 

Friday, January 1, 2016

Quinoa Coconut Muffins (gluten free + dairy free)


Its been way too long since I have posted a recipe!  I figured it would be good to start off 2016 with a recipe that is healthy delicious and easy. Quinoa is an amazing grain that is highly nutritious.  One cup of cooked quinoa has 8 grams of protein and 5 grams of fiber.  I also like to add chia seeds to my muffins because they look nice and add nutritional value.  All you need for this recipe is a small pot to cook your quinoa, a muffin tin and a blender! Don't forget to cook your quinoa before starting this recipe :)


Quinoa Coconut Muffins (gluten free + dairy free)
  • 2 cups COOKED quinoa (about 3/4 cup uncooked quinoa)
  • 1/3 cup coconut milk
  • 3 eggs
  • 1/3 cup melted coconut oil
  • 1/4 cup sugar
  • 2 tablespoons maple syrup
  • 1 1/2 teaspoons baking powder
  • 1/2 teaspoon baking soda
  • 1/4 teaspoon salt
  • 1 tablespoon chia seeds
  • 1/3 cup shredded unsweetened coconut

  1. Preheat oven to 350 degrees.  Line a muffin tin with paper liners.
  2. Add all the ingredients EXCEPT for the shredded coconut and chia seeds to a blender.
  3. Blend until all the ingredients are combined.
  4. Add the chia seeds and shredded coconut. Stir with a spoon.
     
  5. Scoop batter into prepared muffin tins and bake for about 20 minutes until golden.


Monday, April 20, 2015

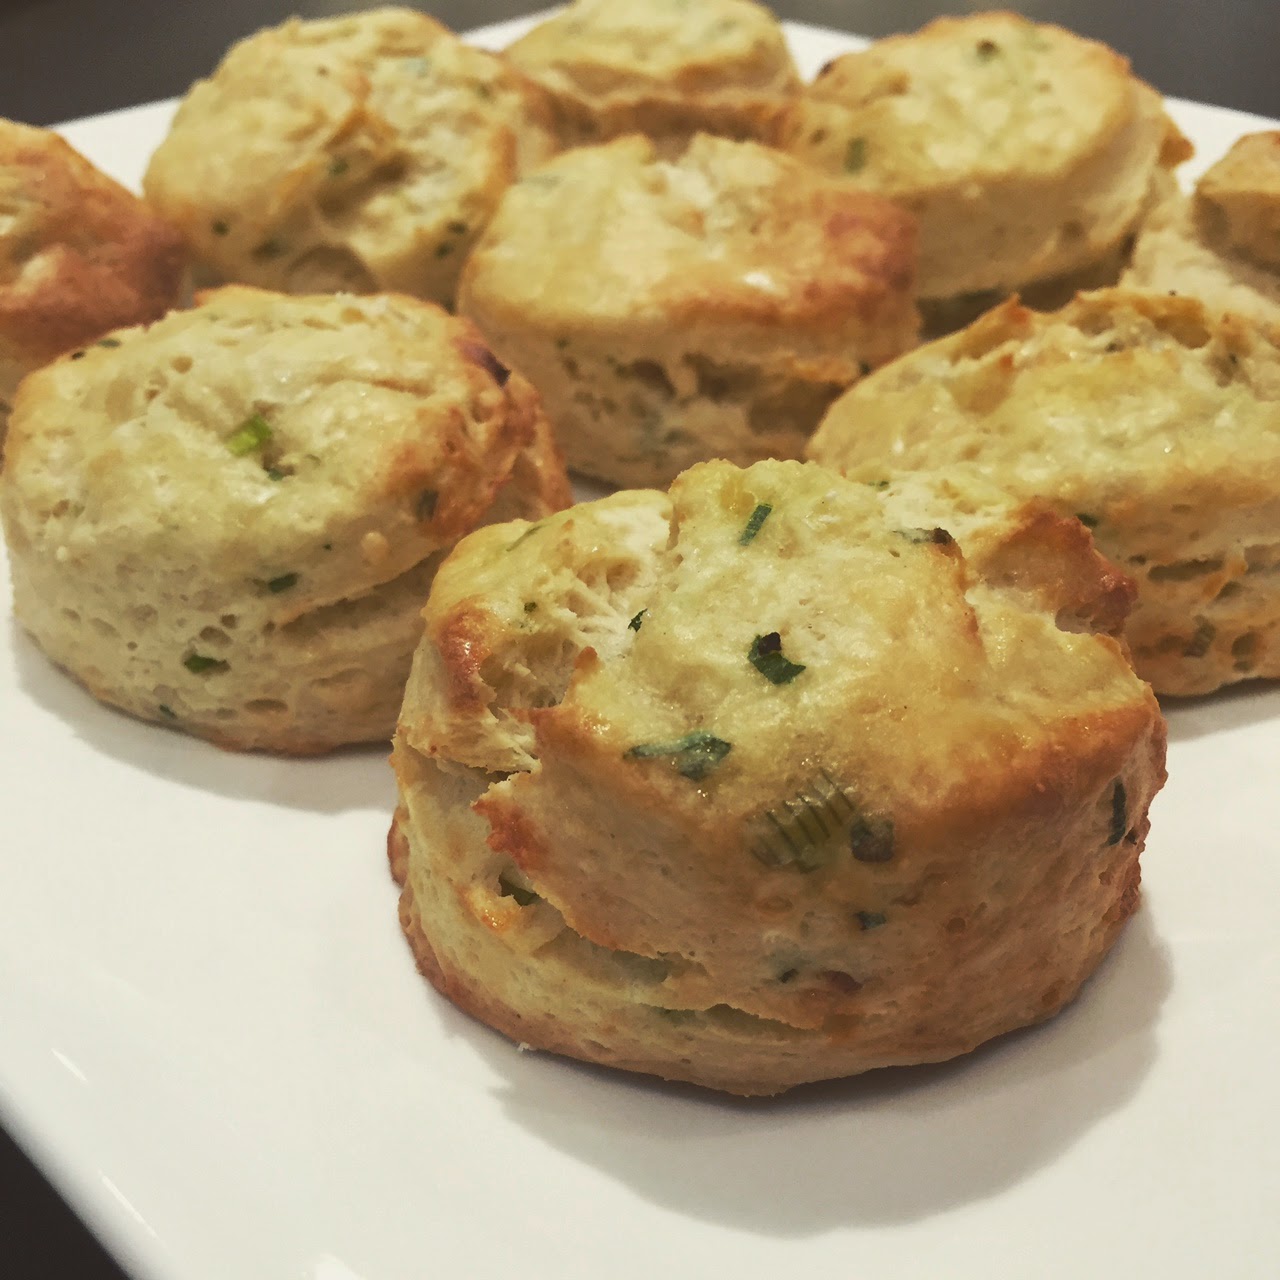
Ramp and Cheddar Buttermilk Biscuits

Ramps are one of the first signs of spring in the culinary world, so for my first spring post, I decided I would have to include a recipe using them.  

So what are ramps?

Ramps are wild leeks, foraged from shaded, woody areas. They’re one of the first signs of spring, and one of the first edible green things to hit markets. I would describe their flavor as a combination of garlic and onion, and slightly pungent. 

Ramps are pricey.  This is mostly because they are foraged so there is a lot more work put into getting them to the market.


This recipe created a fluffy and flakey biscuit.  Top it with some maldon sea salt for that extra little bit of saltiness.  


Ramp and Cheddar Buttermilk Biscuits- 
makes about 8 biscuits
  • 2 cups all purpose flour, plus more as needed
  • 1 tablespoon baking powder
  • 1  3/4 teaspoons sea salt
  • 14 tablespoons cold unsalted butter, diced
  • 1/2 cup cold buttermilk
  • 1 cold egg
  • 1/3 cup chopped ramps **see note on cleaning ramps below
  • 1 1/4 cups shredded sharp cheddar cheese
  • 1 egg beaten with 1 teaspoon water
  • Maldon sea salt, optional

**Ramps have many crevices for mud to hide in (check where the leaves meet the stem).  Rinse them thoroughly before using, and gently pat dry.
  1. Preheat oven to 425 degrees F.
  2. Prepare a sheet tray with parchment paper.
  3. Put 2 cups of flour, baking powder and salt in a food processor.  Pulse a few times to incorporate.
  4. Add the butter a little at a time, pulsing between additions until the butter is the size of peas.
  5. Combine the buttermilk and egg in a small measuring cup and beat lightly.  Add the ramps.  
  6. Slowly add the buttermilk mixture and pulse just until combined.  You do not want to over mix!
  7. Now add the cheese a handful at a time, pulsing once or twice between each addition, again being careful not to over mix.
  8. Dump the dough onto a floured surface and knead lightly about 5 times.  Roll the dough out until it is about 2 inches thick and using a circular shaped cutter, cut out biscuits.
  9. Brush the tops with the beaten egg and water mixture, then sprinkle lightly with some Maldon sea salt.
  10. Bake for 20-25 minutes, until the tops are golden brown.

Sunday, March 1, 2015

Arroz con Gandules (Rice with Pigeon Peas) -vegan-

Arroz con Gandules is traditionally made with small pieces of pork of beef to enhance the flavor. In my version, there is no lack of flavor.  So save your money and make this version next time!
What you will need is  my favorite spice… smoked paprika!  If you follow my blog or have taken any of my cooking classes, you know how obsessed I am with it.  Smoked paprika gives a smoky umami flavor that adds depth of flavor to meatless dishes.

This is a two part recipe.  You must make SOFRITO (the base for most Caribbean Latino dishes which is added to rice, beans, soups, stews etc.) I have included my recipe for sofrito below this recipe.  It will make a large batch and will last you a long time so it's worth it!


Arroz con Gandules (Rice with Pigeon Peas) -vegan-

  • 2 tablespoons olive oil, divided
  • 1 onion, diced
  • 1/2 bell pepper, diced (green is the most common but I only had yellow!)
  • 2 cloves of garlic, minced 
  • 1 can pigeon peas, drained and rinsed
  • 1/3 cup salad olives, drained
  • 1 1/2 teaspoons smoked paprika
  • 2 1/4 teaspoons sea salt
  • pepper, to taste
  • 4 cubes of sofrito (see recipe below)
  • 1/4 cup tomato paste
  • 3 1/2 cups water
  1. Add 1 tablespoon of olive oil to a large pot on medium-high heat.  Add onions and peppers, and sauté for about 2 minutes.  Add the garlic and sauté for another minute.
  2. Add the pigeon peas, salad olives, smoked paprika, salt, pepper, sofrito and tomato paste. Stir to incorporate, add water and stir again.  DO NOT ADD THE RICE YET
  3. Bring to a boil, then add the rice.  Reduce the flame to a simmer and cook for 20 minutes.  Do not open the lid to check on the rice, this will cause your rice to be cooked but soggy, and nobody likes mushy soggy rice!

Buttercup’s Sofrito (that's me!)
~ inspired by Aida Placeres (my grandma in law)

  • 1 large red bell pepper, seeded and cut in quarters
  • 1 large onion, cut in quarters
  • 12 aji dulce, seeded and cut in half
  • 1 head of garlic (about 12 cloves garlic)
  • ¼ cup salad olives
  • 20 recao leaves, washed and dried
  • 1 bunch cilantro leaves, washed, dried
  • 1 teaspoon fresh ground black pepper
  • 1 tablespoon dried oregano

  1. Combine all ingredients in a food processor or magic bullet.  Process until smooth.
  2. Freeze sofrito in ice cube trays, transfer into Ziploc bags or plastic containers and store in the freezer for easy use!

Monday, February 16, 2015

Smokey Tamari Roasted Chickpeas

These are probably my favorite things to make.  They are SO easy and delicious.  I created the recipe for my toddler cooking class and all my toddlers along with their mommies fell in love with them.  My favorite way to eat these chickpeas is in a rice bowl, with brown rice (or quinoa) and whatever greens I have available.  But they are so good to eat as a snack, or to throw on top of salad.  They are so versatile! 

Tamari Roasted Chickpeas

  • 2 tablespoons tamari (soy sauce)
  • 3/4 teaspoon sea salt
  • 1 teaspoon smoked paprika
  • 1 teaspoon sesame oil*
  • 1 teaspoon rice vinegar**
  • 2 teaspoons lemon juice
  • 2 teaspoons maple syrup
  • 2 cans chickpeas
* You can use any oil you like
** If you don't have rice vinegar, you can replace it with extra lemon juice
  1. Preheat the oven to 375 degrees.  Line a sheet tray with parchment paper.
  2. Whisk together the tamari, sea salt, smoked paprika, sesame oil, vinegar, lemon juice and maple syrup.
  3. Toss the chickpeas in the tamari mixture until coated.
  4. Pour the chickpea mixture with extra liquid onto the parchment lined sheet tray and bake for 10-15 minutes until most of the liquid is absorbed. The chickpeas should be tender. Do not over bake or the chickpeas with be dry.

Tuesday, February 10, 2015

Chunky Chipotle Kidney Bean Chili

This recipe is inspired by one of my tween chefs Ty.  Last week we had an improv class where I set out ingredients and my tween chefs worked in groups to come up with an entree that contained a protein, starch and greens.  Ty made a delicious black bean chili with a secret ingredient…cinnamon!  It is amazing how the cinnamon elevated the flavor of the chili.  Here is my inspired recipe, cooked with what I had in my kitchen.  I hope you enjoy it!

Chunky Chipotle Kidney Bean Chili

Ingredients:

  • 1 tablespoon olive oil
  • 1 onion, medium dice
  • 2 carrots, medium dice
  • 2 cloves garlic, minced
  • 3 cups cooked kidney beans ( or 2 cans)
  • 1 1/2 teaspoons sea salt
  • 1 1/2 teaspoons chili powder
  • scant 1/4 teaspoon ground cinnamon
  • 1 can diced tomatoes
  • 1/2 cup vegetable broth
  • 1/4 teaspoon adobo sauce (the sauce from chiptole chills)

  1. Heat olive oil on medium heat in a medium sized pot.  Add the onions and carrots and sauté until the onions are translucent.
  2. Add the garlic and sauté for another minute or so.
  3. Add the kidney beans, sea salt, chili powder, cinnamon, tomatoes, vegetable broth and adobo sauce.
  4. Stir to incorporate and cook on a low flame for 15-20 minutes until the sauce has thickened.
  5. Thats it! SOOOOO easy :)


Tuesday, February 3, 2015

Broccoli and Edamame Bites


This recipe is inspired by one that I got from Freshmade NYC where I teach children's cooking classes.  I tweaked it a bit and today, I made this recipe with toddlers.  They were a hit! I went home after my class and made them for myself.  They are great to make in large batches so you can eat some fresh, and freeze the rest to use for quick meals.  


Broccoli and Edamame Croquettes

Ingredients:

  • 1 tablespoon extra virgin olive oil
  • 1 onion, diced
  • 2 cloves of garlic, chopped
  • 2 heads of broccoli, broken into florets (about 3 cups)
  • 3/4 cup shelled edamame, defrosted
  • 1 1/2 teaspoons salt
  • pepper to taste
  • 3/4 cup panko breadcrumbs
  • 1/4 cup golden flaxseed meal
  • 3/4 cup shredded mozzarella cheese
  • 2 eggs, beaten

  1. Preheat the oven to 400°.  Line a baking sheet with parchment paper. 
  2. Heat the olive oil in a large pan over medium heat.   Add in the garlic and onions and sauté until onions are translucent.
  3. Add in broccoli and sauté until they turn bright green and are tender.  Add the edamame and cook for another 30 seconds.  Set aside to cool.

  4. Once cooled, put in a food processor and pulse until the mixture resembles coarse meal (you do not want to process it until it is a paste because it is nice to have some  texture.)
  5. Add the, panko, flaxseed meal, cheese, and eggs.
  6. Add salt and pepper to taste.
  7. Pulse a few more times to combine.  
  8. Then using an ice-cream scoop, form croquettes and place on the prepared baking sheet.


  9. Bake in the preheated oven for 15 minutes until golden brown on top. 

Enjoy!! 

Deniz Akiska Vergara
The Chef in the City

D